Thursday, March 15, 2012

Getting the Remodeling Urge =)

I'm starting to get that itch.  My house has been the same for too long, I've got to change something!  Now my mother usually responds to this by getting an entirely different house, but I'm going to try and satisfy it by fixing something.  I still have things to accomplish here.  Right now, I'm thinking about my fireplace.  Here it is:

I despise the gold box, (getting rid of all the brass in the entire house is a definite goal of mine).  Now, I'm usually a fan of red brick, but I think this room just looks too busy, especially since we moved the office into this area.  So what do you think of this?

Ok, I know this is a terrible photoshop picture.  But I was looking at some options, like this Brick Anew thing, and I found a picture of someone who had a fireplace just like mine... check out their before and after!


So, what do you think?  Should I go for it? 

Tuesday, March 6, 2012

Toolbelt Giveaway!

The Giveaway is done!  I used the random.org free number generator, and mpooh was the winner!  Yay!  Thanks everyone who is following my website, I hope you're having as much fun as I am =) 

Like Totally 80's Party =)

I'm helping my sister plan a gala fundraiser for our kid's school, and the theme is 80's!  To get everyone in the mood, we decorated the lobby yesterday!  Check it out!

I found the idea for using the tablecloths as streamers here.  It's really dramatic, especially in person!  The checkerboard backdrop is covered with bright geometric shapes, we have pac-man and guess who to represent the games we'll be playing.  It's like totally awesome! =)  Next up will be centerpiece planning and then I suppose I ought to consider dressing appropriately for the party. =)  Should be fun!

Thursday, March 1, 2012

Super Hero T-shirt Refashion

My nephew Barrett asked me to make him a Captain America costume!!!  I'm so excited, not only because it's a fun project, but because he actually asked =)  I'm so happy he knows I like to make stuff!  So here's the beginning of my project, a basic t-shirt refashion!


I got 4 t-shirts at Michael's.  A blue one in his actual size (a little big so he can grow into it and I can add more cool stuff to it) and some XLs.  I cut strips from the bottom of the red and white shirts to make into the stripes at the bottom of the shirt.  Using the old hems made it so easy!  I cut them 4.5 by 8.  After I sewed the strips together, I just sewed them to the shirt at the right height.  I didn't cut the blue shirt at all so that he won't feel any of the piecing, and so my next step doesn't show through.

Iron on a star and stitch it down, and the first part of the costume is done!!!  Next step... add some muscles!!  I think he'd love just the t-shirt, and it took me less than an hour to make today.  But for a costume, we need more!  I'll share soon =)

Tuesday, February 28, 2012

Rice Krispie Treat Kisses


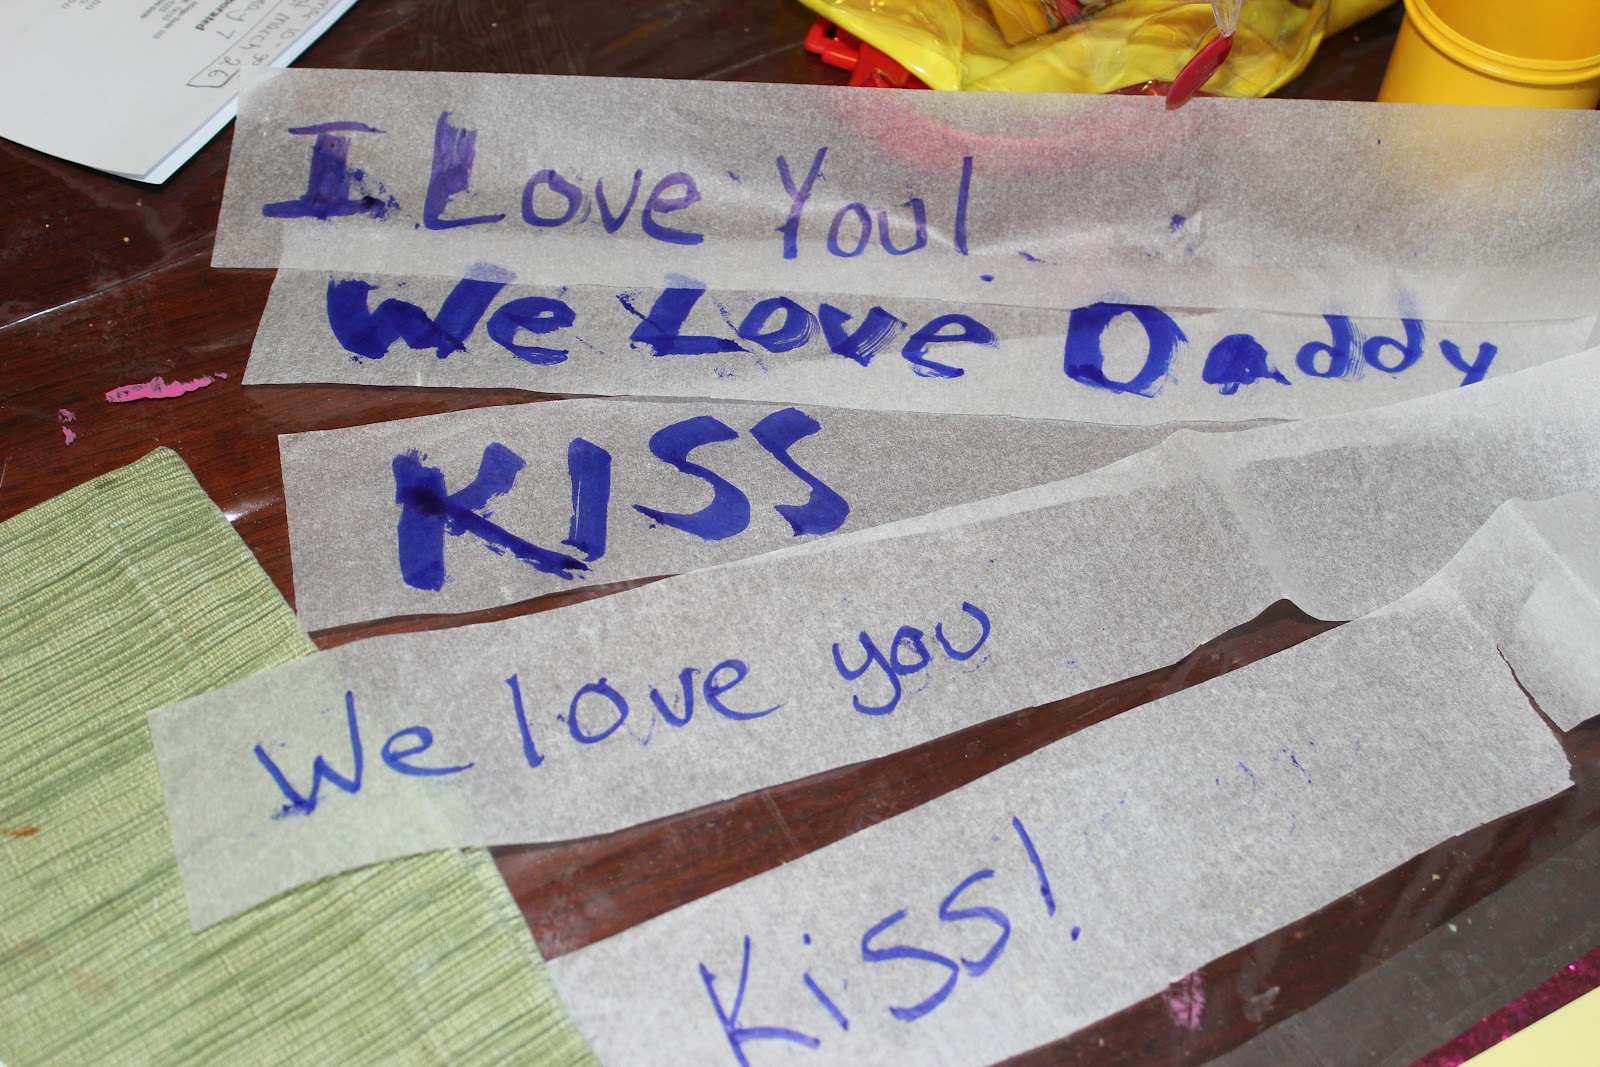
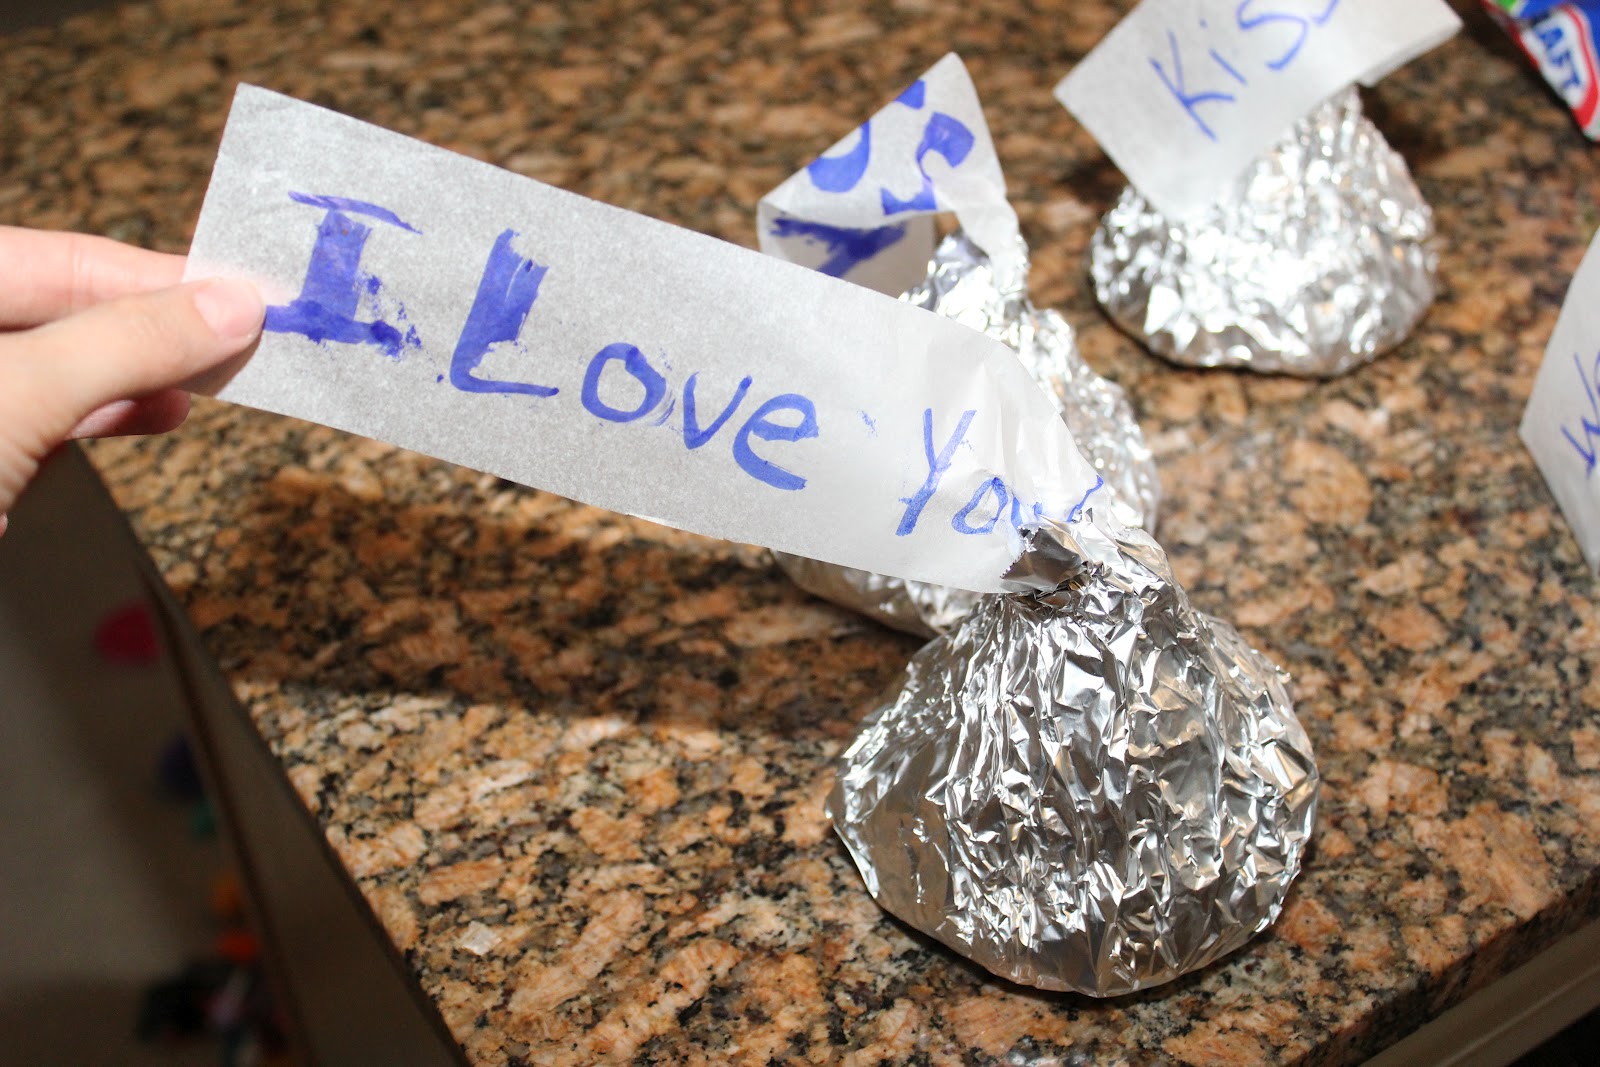
Daddy was having a rough day at work, so we decided to make him kisses!  Kisses out of Rice Krispie Treats!  I found this here on Pinterest.  Just use a funnel to make the shape.  We also wrote messages on some tissue paper to put inside the foil just like real kisses.  Although I double wrapped them because I wasn’t sure if the paper would stick to the rice krispie treats.  I think he’ll love them!  Serenity (age 3.5) was a big help with measuring and pouring ingredients and writing the messages!


Monday, February 27, 2012

Instructions for Child’s Toolbelt

***I'm doing my first giveaway!  See below for details!!
Instructions for Child’s Toolbelt

This project was so easy and fun!  I bought a nice heavy brown fabric, not quite as stiff as canvas or duck cloth, but very sturdy because I thought it would be more realistic.  I used cotton web belting in bright colors for the belt and the loops.  Then all I needed was a little bit of Velcro to attach it! 

I made three pockets, each a little different. 

For the middle pocket, cut fabric 9 inches by 4.5 inches.  I hemmed one short side and folded it and hemmed again so no raw edges showed.  Then I folded it up 3 ¼ inches, right sides together, and sewed up the sides.  Then I did a pinch hem like I did on the mailbags here, to give this pocket a little dimension.  This one was just ½ inch from the point.  Then I turned under the raw edges  on the sides above the pocket and sewed those so no raw edges showed.  Then I folded the top back and hemmed that.  Then I sewed it to the middle cotton belting (which I cut to 30 inches).  I put it in the middle of the belt from the top and the bottom too, because I wanted a bit of the color to show above the pockets on the belt.  This pocket was sized for the measuring tape from our play toolkit, or a very small real one eventually. 

The left pocket (as you’re facing the belt) has the loop for a hammer.  This is just six inches of the web belting sewn into the hem on the left side of the pocket.  This pocket was cut 15 inches by 5.5 inches.  No pinch hem on this one, just hem one short side, fold it up 6 inches (right sides together) and sew the sides up.  With the loop for the hammer in one side.  Then roll over the raw sides above the pocket and hem.  Then hem the top.  I tried to make the top the same on all three pockets so the opening of all three pockets is in a straight side.  So just fold it as much as it needs to be to match the first one. 

The last pocket begins the same as the hammer pocket.  Double hem the short side, then we sew on the embellishments.  I made a little pleated pocket by cutting a 4.5 inch square.  Then I hemmed it all around.  Then I made a pleat so the pocket ends up being just three inches, and it has some nice dimension so it can hold pliers or play nails or whatever.  Then stitch it to the front of the pocket.  Then cut a little strip of belting, 2.5 inches long.  I fold under the edges and stitch it to the pocket, making sure it wouldn’t fall into the seam.  This means it sticks out a little bit so it’s easy to stick a screwdriver in. 

Finish that pocket like the hammer pocket, fold it up seven inches, hem the sides, fold right side out and hem the sides above the pocket.  Hem the top, then attach it to the belt! 

Just add some Velcro and you’re done!  I hope this tutorial is clear enough, it’s really very easy and forgiving.  Any kind of pockets will work great!  =)  
Serenity wanted her tool belt to be pink =)


Turns out it's also a handy place to carry your magic wand =)

These are so much fun to make I'm going to make an extra to give to one of my followers!  Just leave a comment below saying you're following me or subscribed to my rss feed!  I'll choose someone at random next Monday!  Oh, and pick a color for the belt =)  

Tuesday, February 21, 2012

Sneak Peek: Child's Toolbelt

I just managed to get this project to this point, and I couldn't wait to show you!  Hopefully I'll have time to write up the pattern and tutorial for the weekend post =)  So for today I'll just post the picture!