Friday, October 8, 2010

Rainbow Activities

We have a little bit of a rainbow obsession going on here right now.  Serenity absolutely loves to organize things.  She lines up all the instruments in music class by type, she groups animals, but her favorite thing is to sort by color.  She makes towers of legos all in the same colors, and she just loves matching!  So it's no surprise that we do a lot of rainbow crafts and activities.  Here are some of our favorites:

Right after we got the Do-A-Dot markers in the mail, I came up with this little activity.  I drew lines in a rainbow arc and encouraged her to mark on the lines.  I was really surprised that she was able to do this so well, as she wasn't even two at the time.  This rainbow is my favorite of her first year art projects =) 

Recently I got some brightly colored stickers in the Target Dollar Spot (my very favorite place to shop) and I gave Serenity a big pile of them to sort by color.  She had a blast with this, and even decided that she needed her penguins all lined up on the same color wave. 


We also made some rainbow cupcakes, as found on Family Fun.  We didn't even bother icing them, they were delicious and cute =)


Here are a few of our favorite rainbow books!  What Makes a Rainbow


Duckie's Rainbow
Fairy Colors

Thursday, October 7, 2010

Baby Showers: Abbey's Fairy Shower

I've been talking to my dear friend Abbey tonight so I'm inspired to write a little bit about the baby shower we threw her for her baby girl awhile ago.  Abbey wanted girly things for her baby so it was fun to wallow in pretty pinks and purples for her. I covered paper lanterns in pretty flower petals and got silk flowering branches to echo the cherry blossom theme in her nursery.  The little centerpiece was special because Abbey gave each of us a set as a bridesmaids/wedding helper present. And the favors were little scrapbooking kits from Michael's.


Abbey is an amazing scrapbooker and loves crafting as much as I do, so her party was especially fun to plan because we spent a lot of time playing with crafts! About half the guests worked on making scrapbook pages for her baby book.  I was at the other end of the table, helping with this fairy house!  In the invitation I requested the guests bring little items to add to the fairy house, and they brought an assortment of feathers, stones, and other special details!  It was such fun to put together, and when Miss Maggie is a bit bigger I am sure she will like it as much as her Mama does. =)  I got a kit here to get things started. 


Monday, October 4, 2010

Toddler Activities: Making Maps

Well, it's official.  I have a little Dora the Explorer fan.  Serenity loves everything to do with Dora, so we've started to incorporate some of her stories into our games and activities.  We spent one day making maps!  In every Dora episode the map comes on with his "catchy" tune, and shows three places Dora needs to go to get to her destination.  I asked Serenity where she needed to go, and she chose "Benny's Barn,"  "Bubble Bridge," and "Tallest Mountain."  I cut out foam shapes for her and she put them together to form pictures of the places she wanted to go, and then a little winding path to get there.  For a finishing touch, we rolled the map up and added a face just like Dora's map.  Now she loves to run around the house with her Backpack and Map pretending to be an exploradora =) 


Sunday, October 3, 2010

Kid’s Parties: DIY Casey Jr. Train

Kid’s Parties: DIY Casey Jr. Train
One year my sister decided to throw a circus party for my nephew Casey, and she nominated me to build a Casey Jr. circus train for the kids to ride!  She knows I love a good project!  


My Dad and I started with an old chest of drawers he had salvaged from a garage sale, he’s great at finding things like that.  These were great, sturdy wooden boxes, and after we removed the hardware, they were the perfect beginning for a train! 


To make the animal cars, we cut pieces of pvc pipe about 2 feet high, maybe 30 inches depending on what size drawer you begin with.  We screwed those around three sides of the boxes.  Then I just used colored posterboard to add the banners along the top that I labeled wild animals, bears, elephants, lions, etc.  We painted the drawers in bright colors and added fake wheels.  The drawers themselves sat on casters so that we could actually pull the kids around!  We connected the cars with a sturdy rope by drilling holes near the bottom of the drawer sides and knotting the rope. 


The engine car had a few more modifications.  We screwed a big black plastic bucket to the front to look like the engine, and made a little cardboard cutout with windows to look like the engine room.  I didn’t get a great picture of this, it was like six years ago before I knew the importance of step by step photos.  I just added details with posterboard though to make it look as much like the Casey Jr. from Dumbo as I could!  It worked great and the kids loved riding around in the train!  Even my Mom took a spin =)   

Sewing: DIY Care Bear Costumes


Sewing: DIY Care Bear Costume
For Serenity’s second Halloween costume, I decided to make her a Care Bear costume.  We have a Funshine and Wish Bear stuffies that live on our bed, and she loves to play with them.  So of course, I needed one for Eric as well.  For Eric’s costume, I lucked into finding a teal colored sweatsuit from Old Navy.  It was fairly cheap, and I got it in my size so I could use it later (although I don’t wear them together… and I removed the tail ;)  So for his costume all I did was make the Care Bear symbol on a big piece of white felt using iron on steam a seam, and then stitching it down on the machine a bit.  I just tacked this onto the tummy, and we added a pillow as he has no padding at all.  Then I added simple ears and a tail, using a piece of pipe cleaner so I could shape them a bit.  And the finishing touch was the little heart on the bottom!


I did a little more sewing on Serenity’s costume, as I couldn’t find a sweat suit in the right colors.  I just used some of her own clothes as a very basic pattern and made them out of a nice warm fleece.  Here’s a bit of advice, fleece does not stretch as much as you think it should!  So it was fairly snug even though I made it bigger than I thought she should need.  But I added the details the same way I did to Eric’s costume.  He wore his costume to work and we met them for lunch, it was fun!  Although Serenity did not really get the idea of trick-or-treating this year, it was great fun and easy! 

Friday, October 1, 2010

Home Design: Under the Stairs Storage… half DIY =)


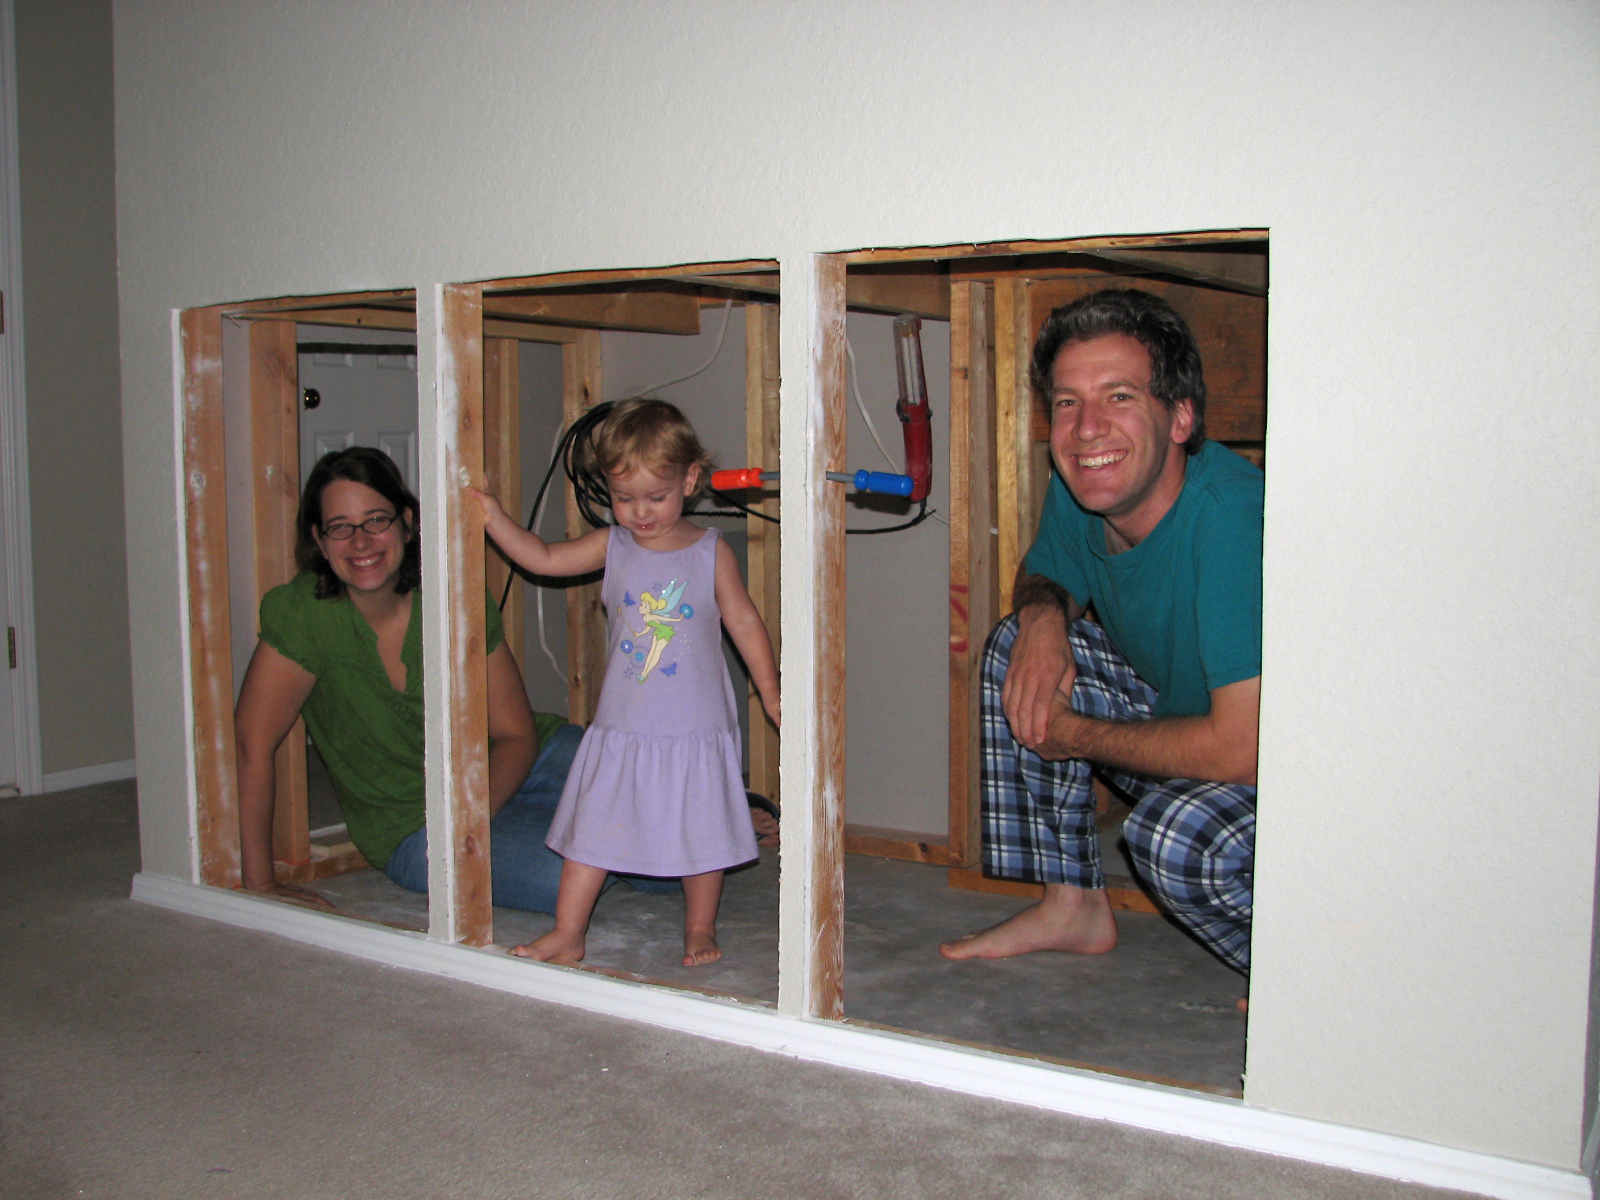
Otherwise known as, “We Need All The Storage We Can Get!”  You would think going from a two bedroom apartment to a three bedroom house, all our stuff would fit easily!  But it’s not that simple.  We had a wide linen closet that we used entirely for games, and the one in this house just doesn’t fit the games as well.  Whenever my Dad gets into a house, he looks for unused space, and under the stairs is one of the first places to check.  Ours was completely wasted space, so we decided to fill it up with shelves!  We built the shelves ourselves, measuring to fit in between the studs already in place.  We could have moved studs, or removed them entirely, but I didn’t want to make things too complicated, and this worked great!  We basically built and painted boxes, and then installed them in the holes.  Serenity thought all this activity was awesome.  She grabbed her tools and said, “it’s broken, I gotta fix it!”  You’ve got to love that DIY attitude =)  She loves to help Papa work.  I’ll put up a play by play on the shelves when I convince my Dad to help me redraw the plans we did =) 
One of five cabinets!

My Dad is always willing and excited to do construction projects!

Notice Serenity's screwdrivers in the wall, she's been working =)


No more piling the books on the windowsill!


Once the shelves themselves were installed, we decided to get some professionals to build the doors for us.  These shelves are very visible right as you come in our house, and so we wanted them to look very nice.  I got to choose the design, with the bead board centers (I love white beadboard, I just can’t explain it, it’s a fixation of mine, and now that I have a house I can indulge!)  They built the doors and installed them, and then we painted them!  And now they are finally finished and we can load them up!  (And now I get to do another of my favorite activities, organize!!!!  I just love having a place for everything)

What do you think?  Anybody inspired to use up their wasted space?      

Thursday, September 30, 2010

Home Design: Serenity's Dress Up Corner

Well those last few spaces in my house that I hadn’t yet painted were calling my name, so I decided to finally do the little changes I planned to Serenity’s closet.  I removed the bi-fold closet doors.  Not only did they take up a ton of space and block the way to the secret room, I worried about her pinching her fingers in them.  Plus, they stayed open nearly all the time anyway.  So, in order for it not to drive me crazy, I had to paint over the dirty beige that I had covered everywhere else in the house.  I painted a lighter blue than her room since it’s such a small space, and it made a huge difference!  It’s so much more inviting!  And then, in the right corner, I created a dress-up area for her.  She’s just getting to the age that she really enjoys the costumes I’ve begun to collect for her.  I put in some hooks, a tub to hold her accessories, and her favorite addition, the mirror!  It’s so cute to see her put on an outfit and model it in the mirror =) And so, without further ado, the before and after.