Monday, August 6, 2012
Ruffle Fabric Valances
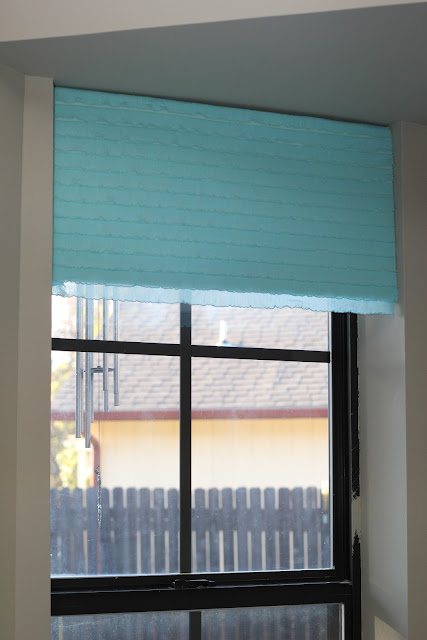
I am super excited about my new valances in my kitchen! My first window treatment in the house we've owned for three years now. I don't know what it is about lighting and curtains but I just have a horrible time committing to them. I repainted the kitchen area a few weeks ago and I loved it... but it just made me realize that the blinds in my bay window drive me crazy! They are never straight, and the little pieces of wood that are supposed to stay at the top are always breaking out of their little plastic clips. So, I covered them up! Check it out!
This was SO cheap! I bought a yard of the ruffle fabric and cut it in thirds. 12 inches was plenty long enough for a pretty valance (well, it ends up being 11 inches after the wrap around.) I just wrapped it around foam core board using white duct tape! Really, really easy!
If you want to do it yourself, I cut my board the width of my window, and then two inches longer than the length I wanted the valance. I scored it at that two inches, and folded it, securing the seam with duct tape. I used the folded part to tuck above the miniblinds. I didn't even have to nail these things in! Like I said, easiest window treatment ever! I started attaching the fabric at the bottom. I just folded the fabric part under to conceal the bottom of the foam core, and so a single ruffle hangs below the board. That way I could be sure they ended up even. The ruffle fabric doesn't ravel or anything! Then I made sure the top was straight and that each valance had the same number of ruffles. That was the hardest part, making sure not to stretch too much or the ruffles would pucker. I just taped it bit by bit with the duct tape and then put one long piece over the top to secure it.
The one over my door has sides as well as the top.
Subscribe to:
Comments (Atom)


